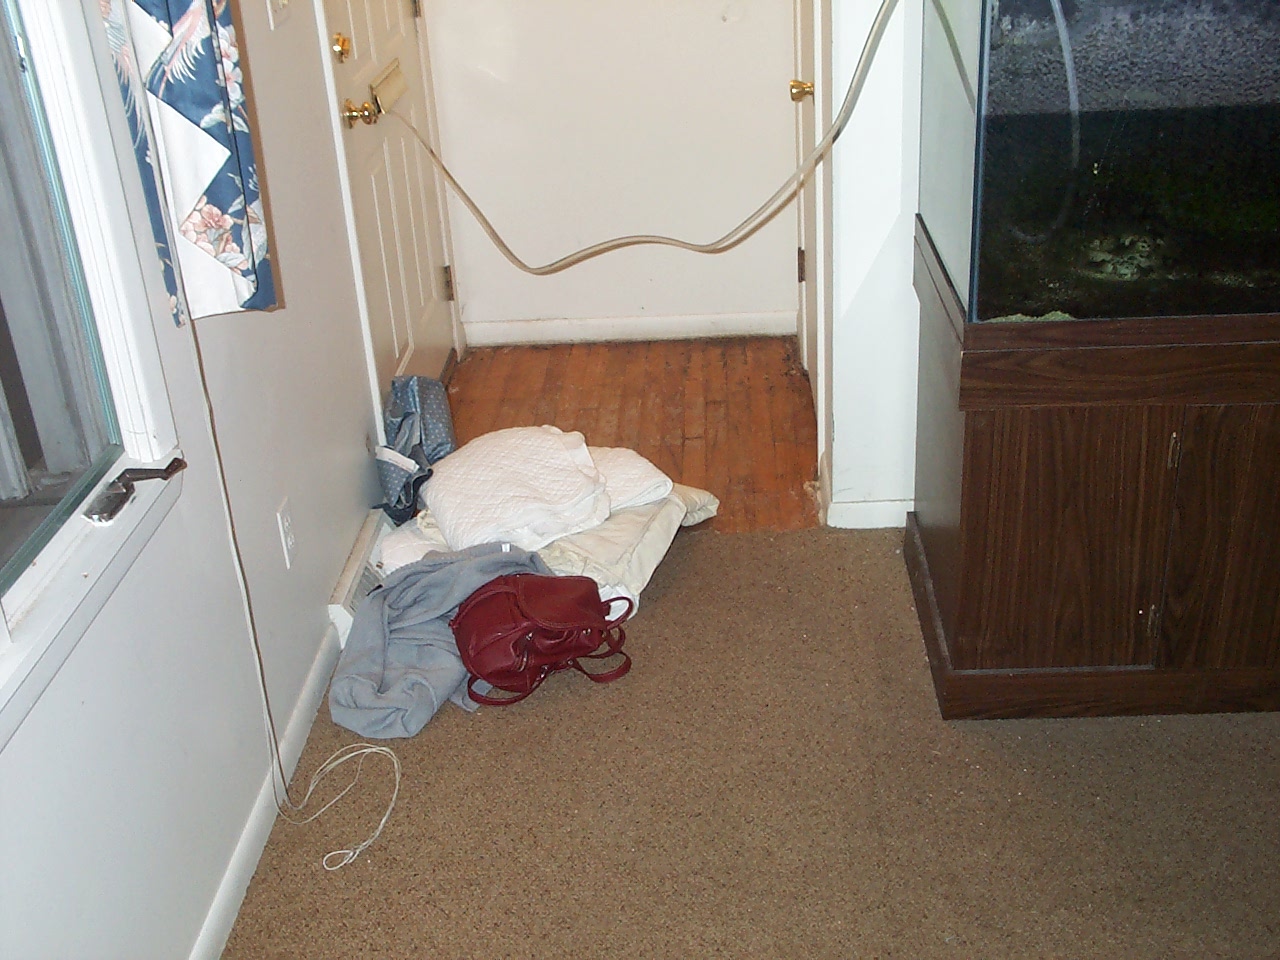
Fig. 1
The floor, the carpet, some drop cloths, and a 120 gallon fish tank being siphoned out through the mail slot.
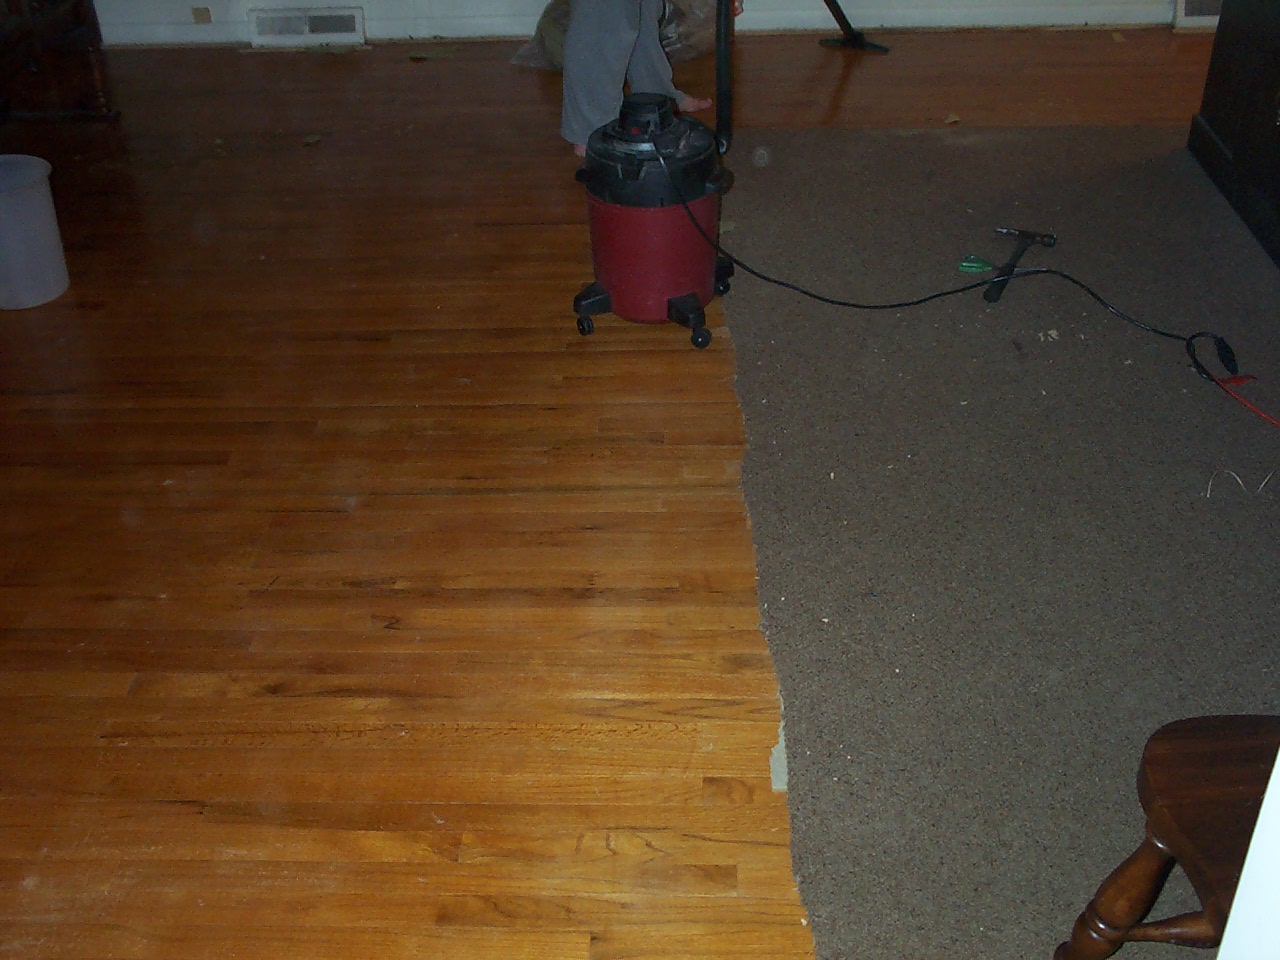
Fig. 2
More carpet gone. Note that the old finish on the floor was probably salvageable.

Fig. 3
Carpet: gone. Floor: cleanish. Misc. Crap: laying around. Doorways/Vents/Outlets: masked.
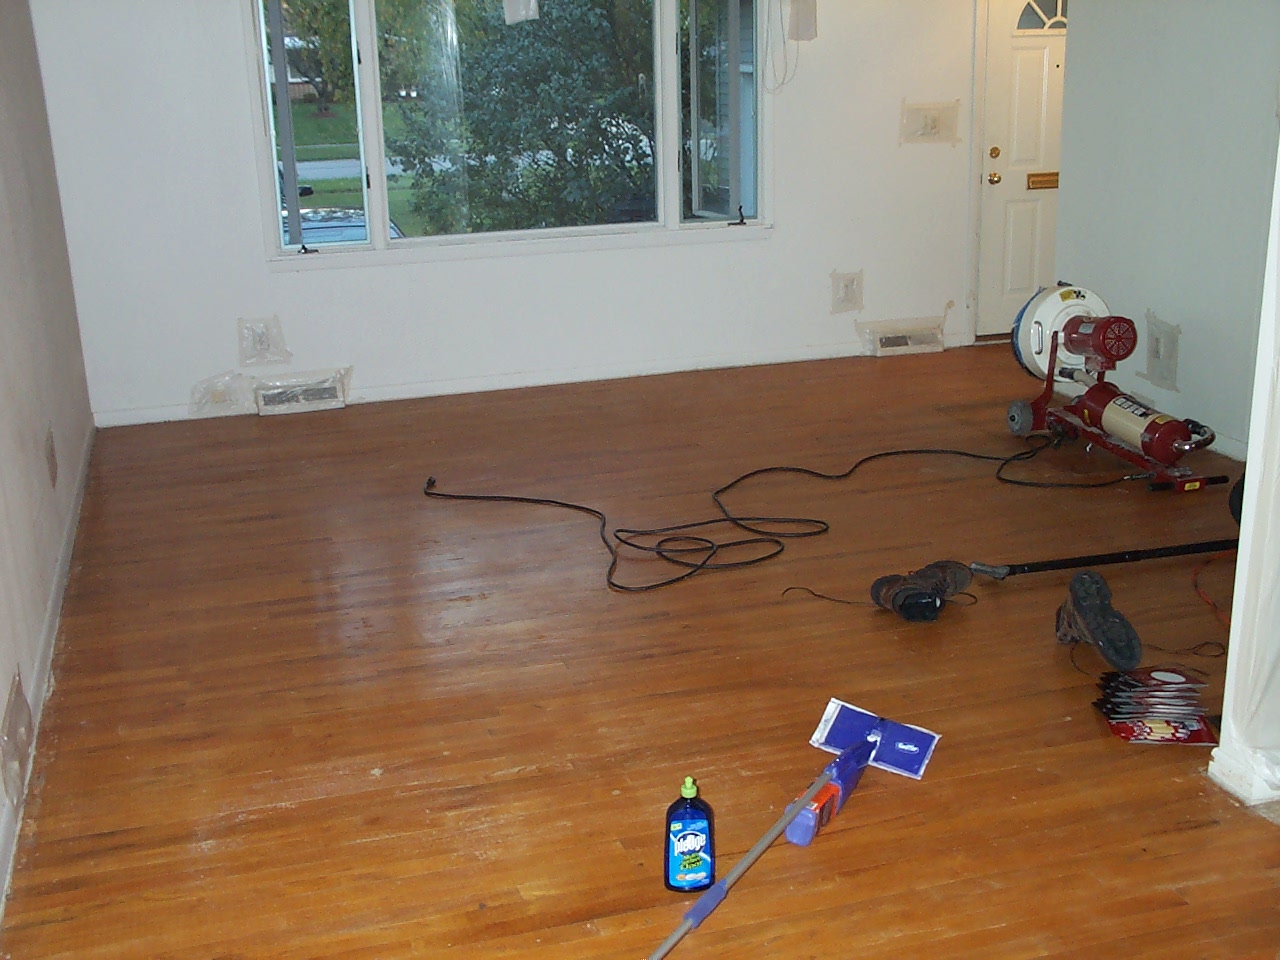
Fig. 4
The next morning. Furniture's gone, Floor: ready. Sander: rented. Crap: still laying around.
So, you know you've got hard wood under your nasty old carpet and you're thinking to yourself, "I can probably yank the carpet, sand that sucker down, apply some finish and have a great-looking living and/or dining room floor." This is a friendly guide to doing that very thing, based on my personal experience.
Step 1: Don't.
Step 2: Seriously, call somebody who knows what they're doing.
Step 3: If you are, like me, foolish enough to skip steps one and two, read on.
I had decided to use some of my accumulating vacation before I lost it and spend it on this exciting project since I had no money for a real vacation. I figured $300-400 in supplies should do the trick, and I could just about swing that. So, we began.
- What you will need:
- A carpet knife/box cutter/liberty killer
- A device for prying carpet, nails, tacks, and staples
- A shop vac and a swiffer/mop
- One or more generous and very understanding friends
- More money than you expect
- More time than you expect
- Patience
- Floor sander
- Lots of sand paper
- Hand-held random orbital sander
- About six hundred tack cloths (Estimate. Probably closer to fifty.)
- Stain and applicator
- Polyurethane and applicator
- Lots and lots of mineral spirits for cleaning the above
- What you may want, but hopefully not need:
- A cyanide capsule
First, yank up the old carpet. This will take longer than you expect. We began at about 8pm on Friday, Oct. 19th. I had a wife and a friend to assist; we finished at about 5am. That was about 400 square of carpet stripped from our living room, dining room and stairs leading up and down (we've got a split-level), cut into sections for garbage removal, padding pulled and put in garbage bags and/or vacuumed, nails, staples, and tacks all pulled.
Next, remove the furniture. This will probably take about as long as you expect. This is where the friends come in. Thank you ever so much, Wesley and Sam. This begins our Saturday.
Next, tape off everything. This will take longer than you expect. Any place that sawdust can go, you almost certainly don't want it to. Particularly your HVAC system. If it does not pose a fire hazard (it will), it will certainly kill your filter.
Next, acquire a sander. I rented a Varathane floor sanding system thingy from Lowe's. Don't do this unless you know you have an easily-sanded finish. I understand you can rent sanders that will strip more readily, but must be more carefully controlled to keep from over-stripping. I would like to have dealt with that problem. There are two good things I can say about the Varathane: 1) The sandpaper pads can be easily removed and reapplied. This will become important in a moment. 2) The integrated vacuum really does a great job of minimizing the sawdust.
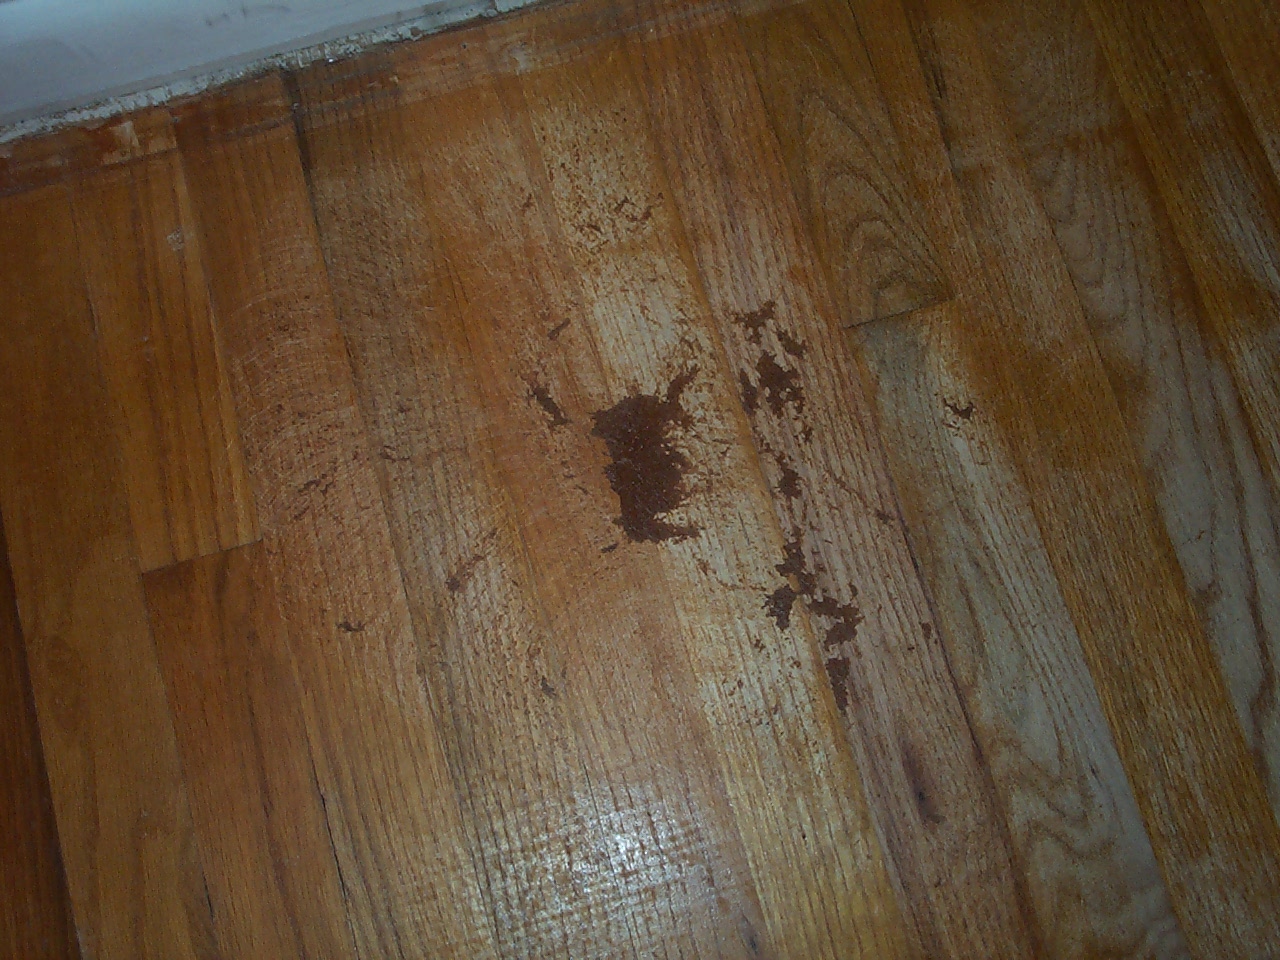
Fig. 5
Uh-oh. What the Hell is that!?
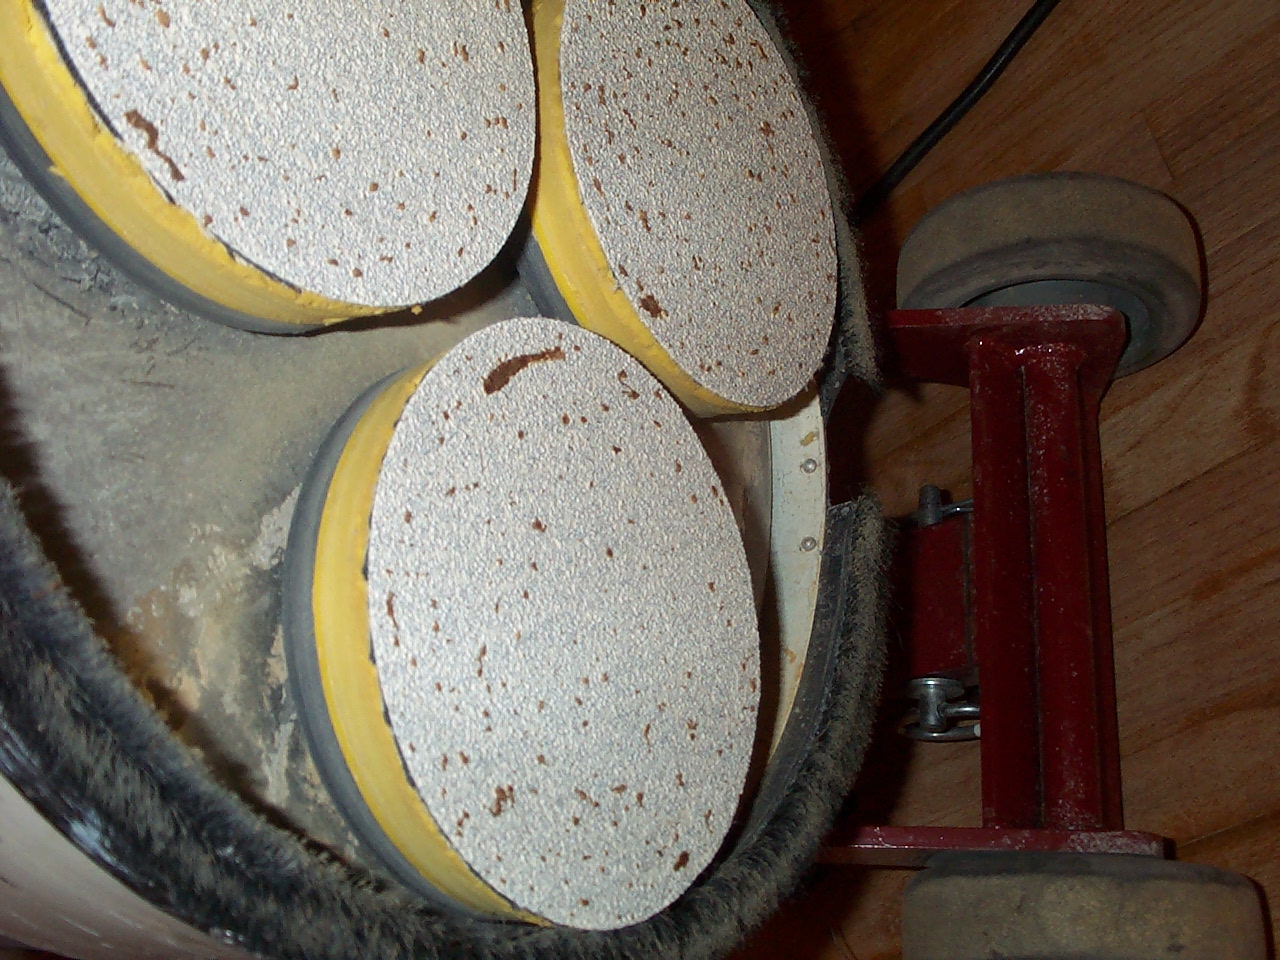
Fig. 6
And that!?
You will want to begin with a coarse sandpaper to do most of the cleaning/leveling, then move to a medium grit for prepping, and a fine grit for finishing. Unless you have a floor covered in shellac, or whatever sticky finish they used on my floor. After just a few seconds of sanding, the sander started bucking and making an unpleasant grinding sound. I immediately shut it off and turned it on its back. It had thick brown streaks, the consistency and color of dried chocolate all through the sandpaper and had left a brown muck apparently glued to the floor. See Figures 5 and 6 to the left.
After some research, we found that this is common if you have shellac or lac-based finish on your floor. The solutions are to either 1) Sand anyway; this will take longer than you expect and use a lot of sand paper, or 2) Strip the finish first with some nasty chemical. I actually went back to the store and bought some nasty chemical and tried it in my pantry (which is also part of the floor I did). It didn't work.
The solution is to sand about half a square foot, when the machine starts to complain, stop, take the pads off, knock the crap off of them (I accomplished this by slapping them against hard things I could find outside), then repeat with another, cool set of pads. They heat up very quickly and that seems to be when the stuff starts sticking. I ultimately had about 9 sets of pads in a rotation. Gum one, clean it, grab the next, repeat. This will take very much longer than you expect. I actually wanted to buy more sand paper pads, but all the Lowes in the area ran out of them. I bitched and got a second rental day gratis, since the old sandpaper becomes less and less effective with use and cleaning.
I was done with the rental sander on Monday at about 1pm, this was pretty much exactly when I had to have it back to avoid being charged another day, and also represented about 50 hours of work since Friday night. Finishing your own floors is only a bargain if you assume your time is worth zero. Which, considering I can't really get a second job or paid overtime is effectively the truth. I took the rest of Monday off because it was likely the last good weather of the year. We took a motorcycle ride. I had another day off on Tuesday because I was scheduled to babysit nephews.
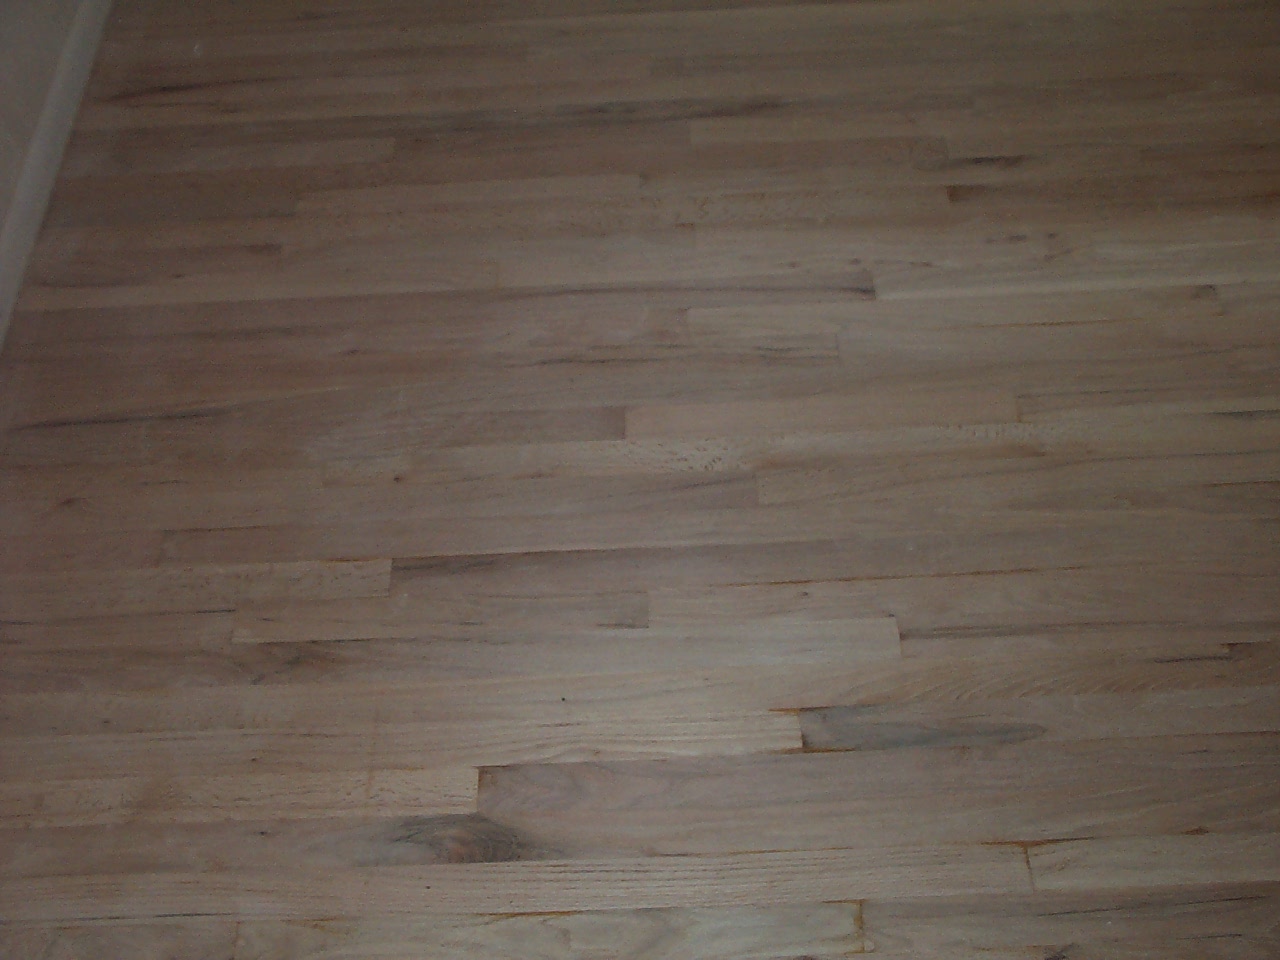
Fig. 7
Done with the floor sander. Click for full resolution to see the old finish remaining in the depressions.
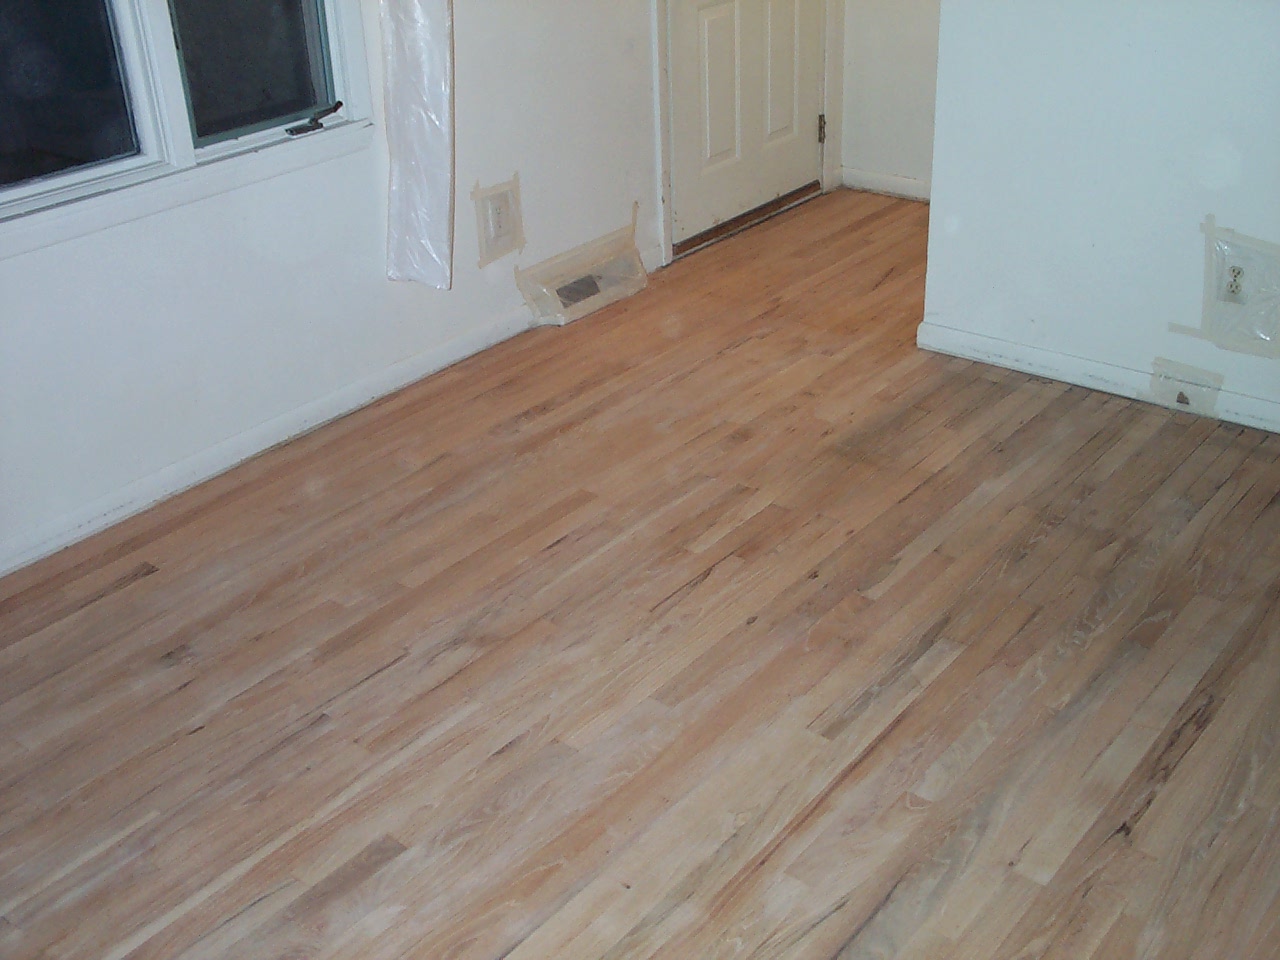
Fig. 8
Sanding finished, at last. The floor is ready for stain (optional) and finish. Note the water stain from around the fish tank on the far right. Some dumbass forgot he was running water into the thing one night. The wood stain I applied did not hide it very well.
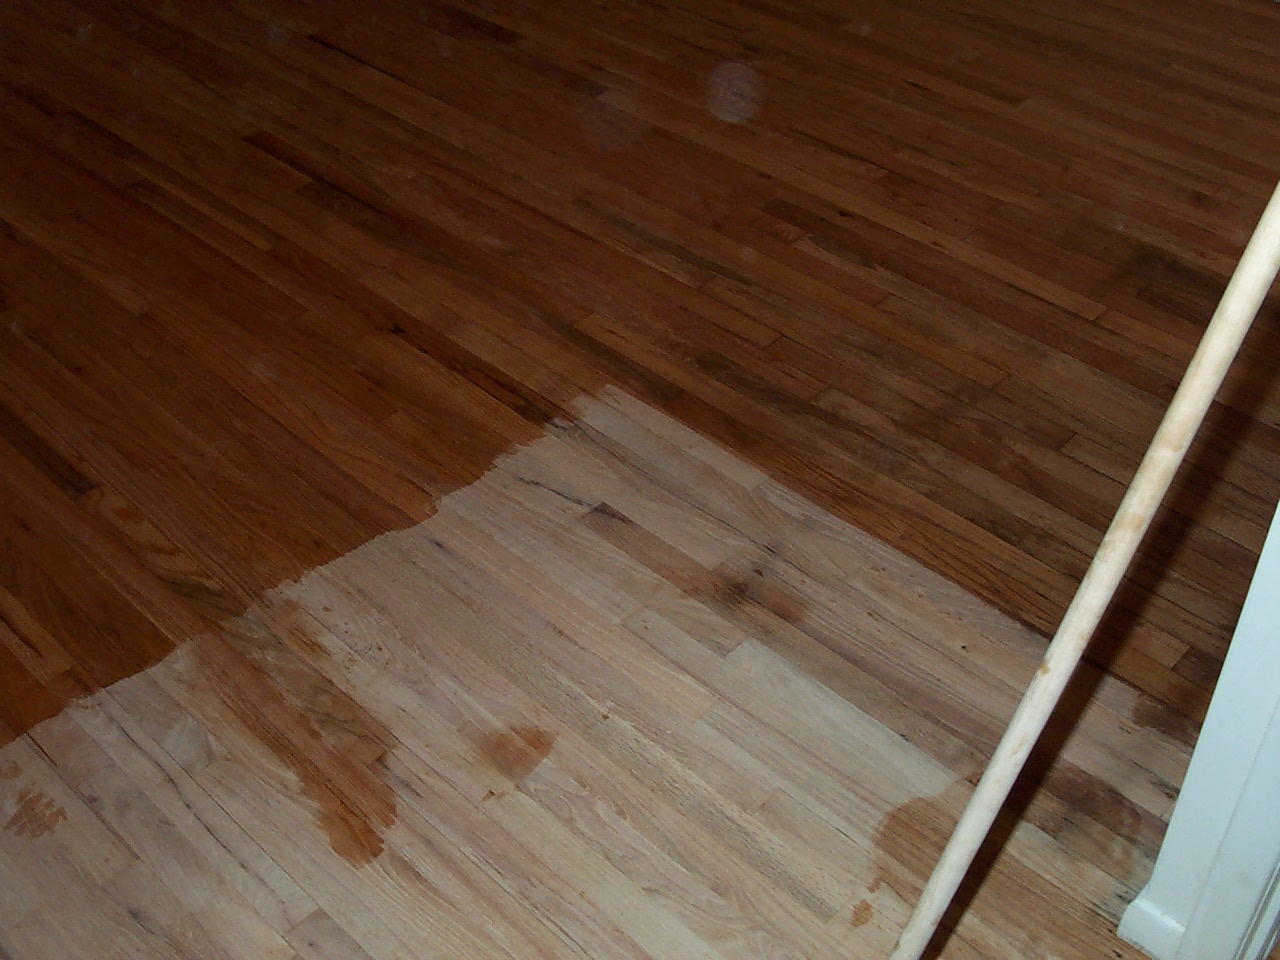
Fig. 9
Applying the stain. The additional dark spots are where the stain dripped from the applicator on its way to the desired work area. These were wiped up as well as possible before the actual coat was applied.
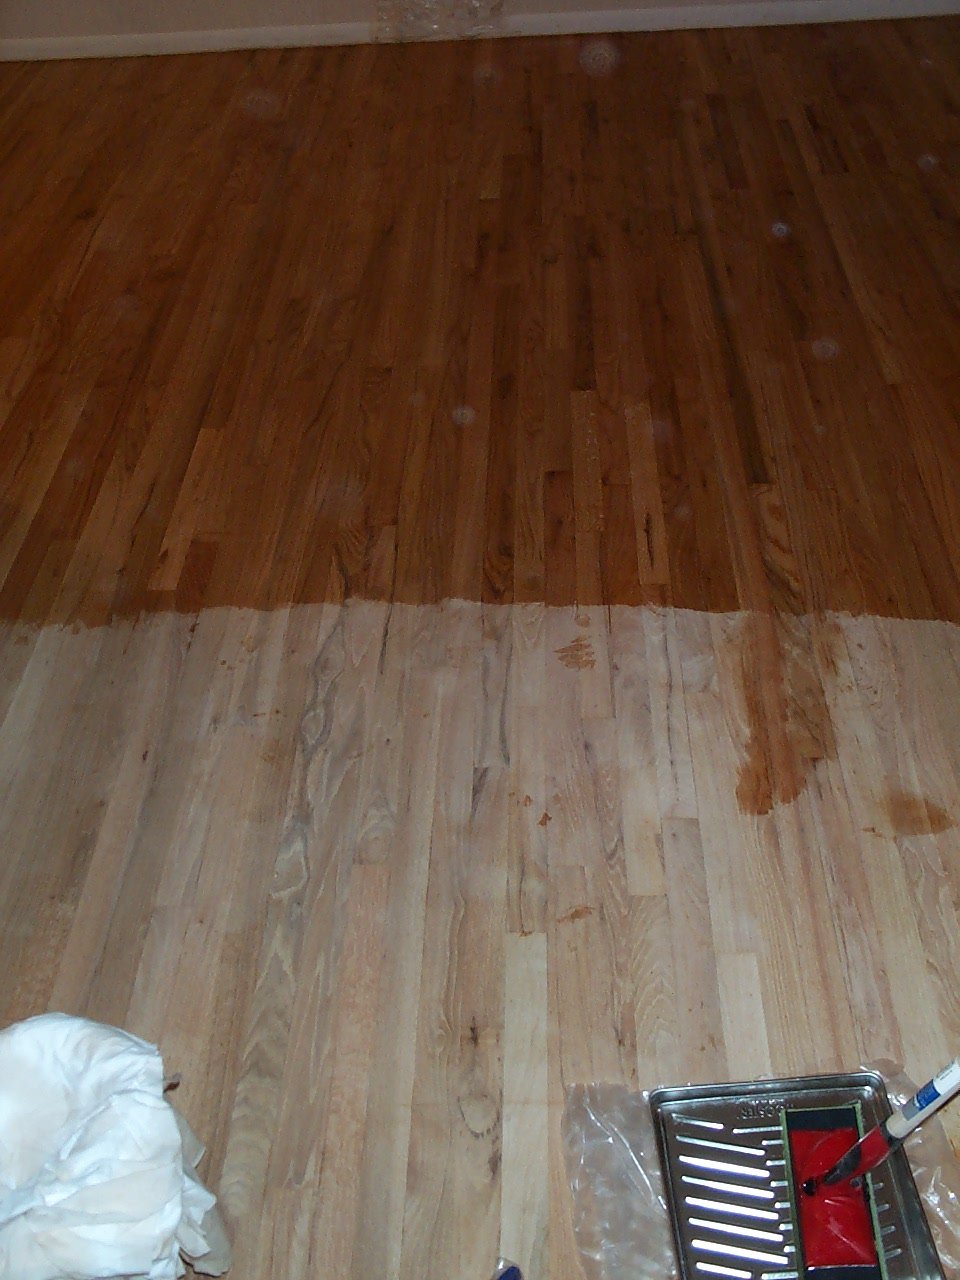
Fig. 10
Applying more stain. The ghostly circular apparitions on the later photos here is from very small particles of sawdust that settled on the camera lens.
Next, you will need to do the corners and clean-up with the orbial sander. This will take longer than you expect. If you look at Figure 7 in the full resolution, you'll notice that where one floor board was slightly offset in depth vs. its neighbor that there was old finish remaining in those nooks and crannies. Trouble is there's a lot of them. Fortunately, Renee suggested that I could just attack them with the fine sand paper on the orbital and she was right. That saved me a bunch of time and effort sanding with the coarse and then graduating to the fine. It did, of course, gum up more 120 grit sandpaper, but it was way worth the expense. Unfortunately, I had already done the perimeter edge where the floor sander couldn't reach in the coarse grit, so I did have to go over that with the fine. This took me all of Wednesday and Thursday, with just breaks for meals.
Next, you will clean the floor thoroughly. You need to remove every trace of sawdust that you just got done filling your house with. This will take longer than you expect. We spent most of Thursday on this. First with the shop vac (very helpful!), then the swiffer, then tack cloths on the swiffer, then tack cloths by hand.
Next, if desired, you may stain the wood. I had already decided to do this, and decided on the color (Olympic's Antique Maple). But when I saw how good the floor looked au naturel I almost didn't use it. I was very proud of myself at this point. I applied the stain using a mop-like applicator, then wiping off the excess with rags by hand. This worked better than I expected, and the overlap marks I feared where one section stopped and the next began did not materialize. When this dried, I was extremely pleased with myself. Be sure to paint yourself into an exit.
Next, you will wait for this to dry a while. We waited overnight.
Depending on the darkness of the color you want and how much time you allowed between application and wipe-off (we went for about 10 minutes), you may want to do a second coat of stain. This was already slightly darker than I wanted (and fairly even, thankfully), so we did just the one.
Next you will lightly sand the floor, clean it, and apply the finish, we chose polyurethane for its durability. We did this on Friday morning. I used a lamb wool applicator, also mop-like, and the first coat went on very well. They tell you to maintain a wet edge on the applicator, which basically means you want to be sure to have enough liquid to be able to push a wave of the stuff ahead of the applicator through the stroke. I had very long strokes since I wanted to get even coverage go with the grain of the wood. The applicator did about four boards at a time and I went the entire length of the floor at any particular part in one long stroke. I actually daubed a bit of polyurethane at strategic points in the anticipated path so that I could maintain the aforementioned wet edge all the way through the stroke. The first coat went fairly smoothly (the applicator caught a piece of wood that had been "lifted" by the stain and ripped it out before I felt a thing; this left a slight gouge a half inch wide, three inches long, and a couple of millimeters deep) and I painted myself into the stairs going down.
We were fortunate that during all the drying periods we were able to move from the downward stairs directly to the kitchen or to the upward stairs (I had decided to do the stairs at a different time for this reason). So we had our whole house available to us during the process, which was nice. The prospect of sleeping on the couch with my back aching after a week of hardish labor was not appealing.
We waited all day for the stuff to dry and by the time we had decided to go to bed, around 2am, it surprised us by feeling dry everywhere I checked. I was as proud of myself as I had ever been when I looked around; the urethane had dried evenly and clearly (lots of people apparently experience bubbles: never shake your urethane, and stir it gently). The floor looked fantastic.
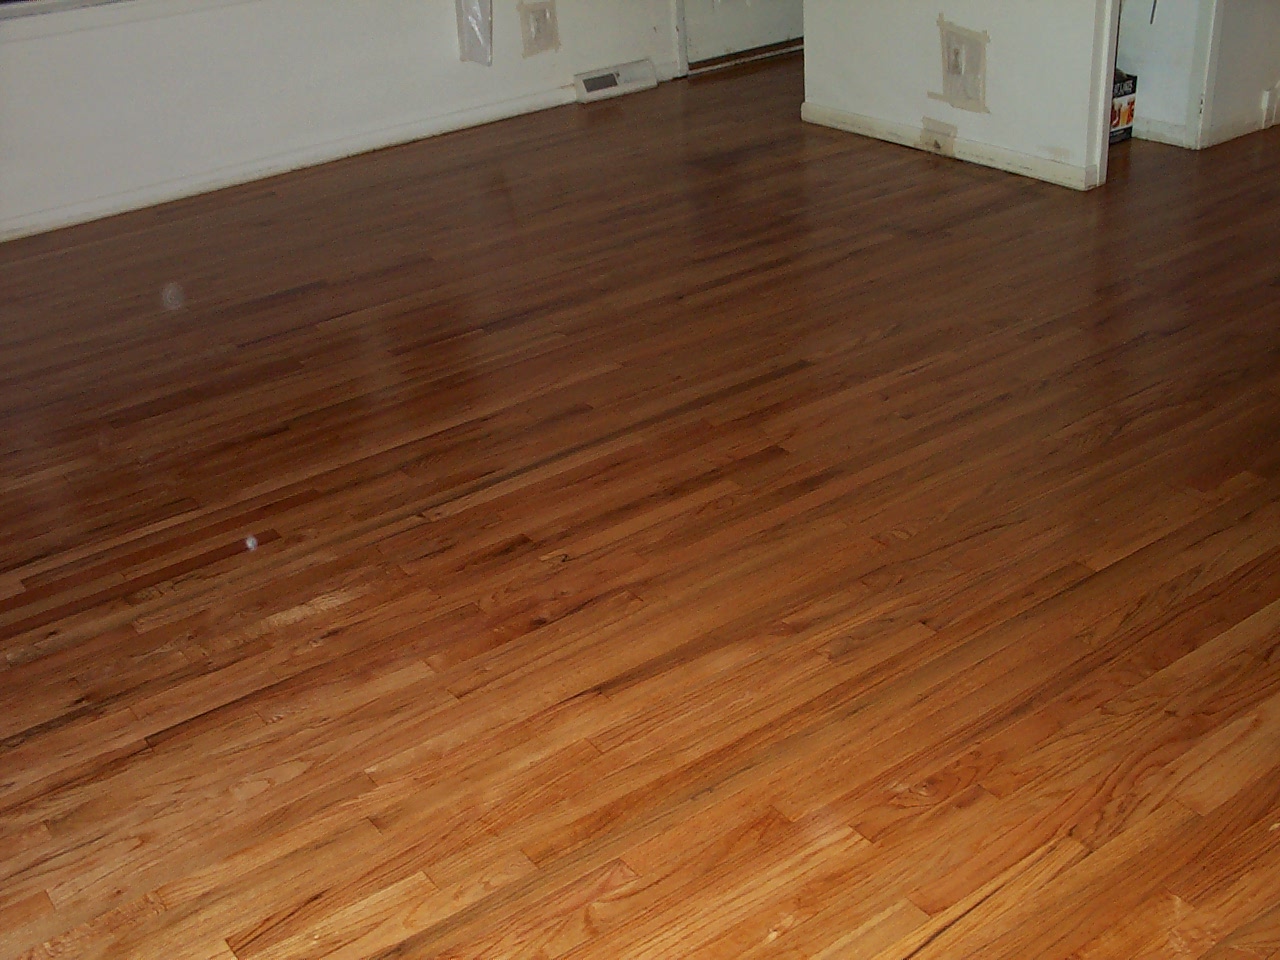
Fig. 11
The first coat of Urethane is dry! Oooh, purty.
Unfortunately, the instructions call for three coats and sanding between each coat. So, we dutifully sanded the whole floor lightly and a little more aggressively where there were minor imperfections. Sadly, this led to us finding that it was not fully dry everywhere. The sanding led to some portions having to be left somewhat rough because you can't sand goo. I hoped that the second coat would fill in these imperfections.
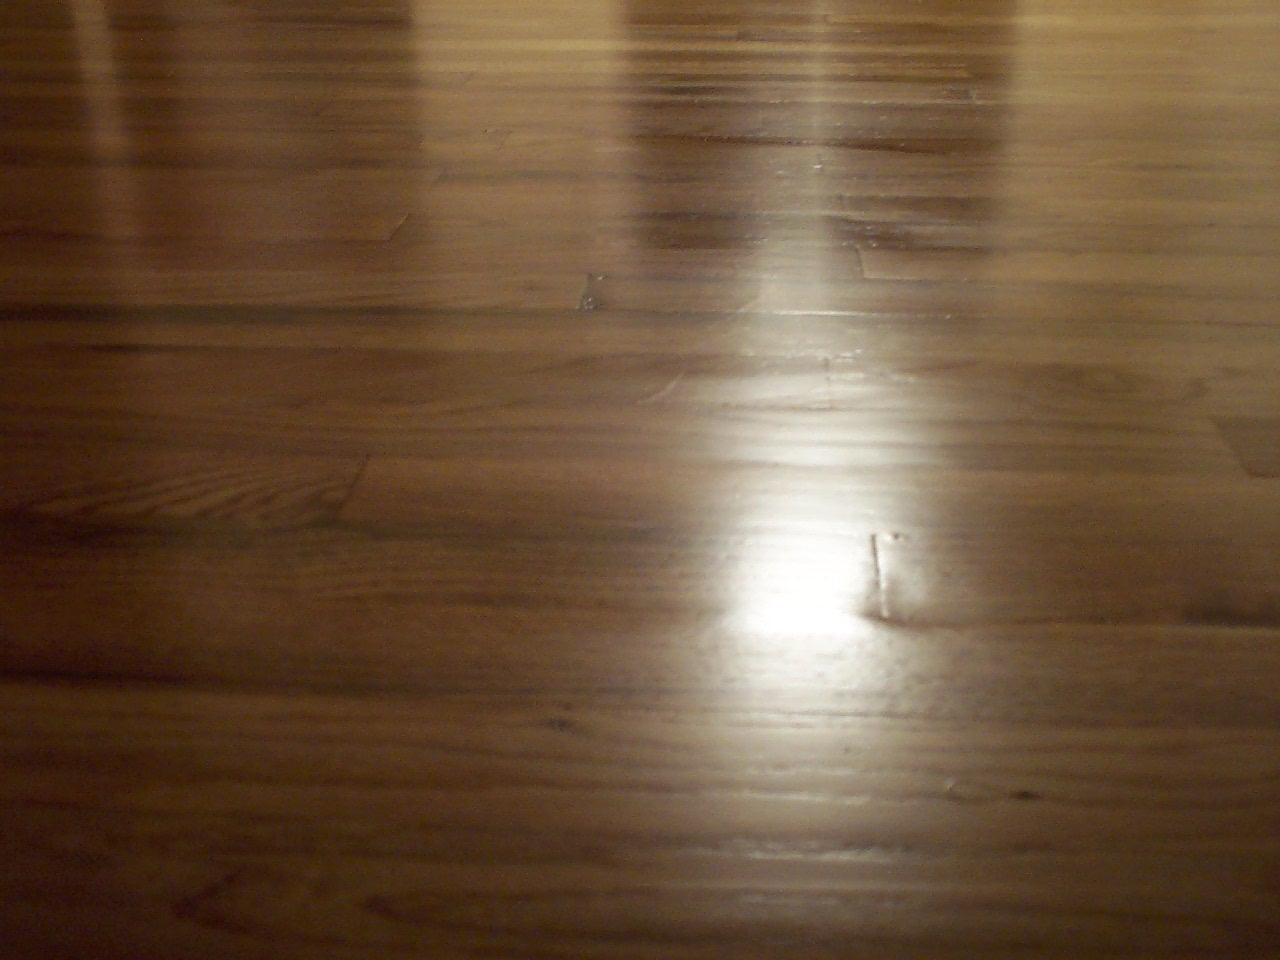
Fig. 12
Done! If you look closely, you can see the curve of my foot print in the middle of the image.
After cleaning again with swiffer and tack cloth, I began to apply the second coat. Unfortunately, I made two crucial mistakes at this point. 1) I missed a stripe, all the way across the floor. That wasn't really the mistake. The mistake was going back to try to fill it in because I didn't notice it until I was several feet past it when the light struck it at the right angle to show it off. I decided to step, in my bare feet, in the still wet urethane to get the area I missed. Don't do this. Just let it go and get it on the next coat. I could not get a good drag of the applicator because I would slide in the opposite direction. Fucking Newton. So, I made myself stepping stones with paper towels. Unfortunately, while all this was going on, the part that I was stepping in was slowly setting, so if you look closely at the floor in the area just this side of the dining room, you can actually find a couple of my foot prints and paper towel impressions even though I went back over it with more urethane during that coat. Mistake 2) I decided that since I could access the family room downstairs through the garage, I would paint myself out the front door. This had two problems that I didn't find until I got there. One, there was very little room to maneuver in the front, as you can see in Figure 1. And two, I stepped outside briefly to set up the tray. I then realized that I had all kinds of dirt and crap on my very sticky urethane-covered feet and there was no way to clean them enough that I could finish applying the second coat at the front of the house. So, the front six to eight boards really only have two coats. Whoops. I went to bed around 4am, exhausted and frustrated, kicking myself for basically ruining a week's worth of hard work in twenty minutes.
On Saturday evening, having given the floor a full twelve hours to dry (the instructions said four), we proceeded to try to sand out the aforementioned imperfections in anticipation of the third coat. Don't do this. Even with twelve hours of drying, we ran into the goo problem again. After giving the rest just a light surface sanding and cleaning up, I applied the third coat, taking the lessons of the previous night to heart. This went very smoothly, I painted myself into the kitchen, and all was well.
Sadly, when I checked it out the next day, I found that the third coat did not fill in the paper towel marks and foot prints as well as I'd hoped. They're not obvious at all if you're just walking around, but if you know what to look for, you can find problems. I suppose I shouldn't be looking for perfection, particularly on my first effort, but after the elation at how great it looked after the first coat of urethane, it's a bitter disappointment.
And finally I had Sunday to myself before having to resume my day job the following Monday. We needed to wait at least 72 hours for complete drying before the next step: fixing the walls and painting. I bought Guitar Hero III and rawked all day long. It's hard work, but somebody's got to do it.
*I totally should have spent this time working on my NaNo, but I wanted to get this out there before I forgot the details. If it comes down to it, I'm going to claim the approximately 2,400 words as part of my novel. Nyeah.
Apparently, I failed to get this out before forgetting the details. The applicator yanking out a sliver actually happened during the second coat of Polyurethane.

 (Full)


